Automating Bandwidth Management for qBittorrent with Homebridge

I’ve always been a fan of automating my smart home setup, even before I started setting up my first home server using unRAID, so, naturally, when I found myself facing an issue with qBittorrent hogging bandwidth when I was home, it didn't take long until I wanted a way to automatically limit qBittorrent’s bandwidth while I’m at home and awake, and then let it run at full speed when I’m away or asleep. This led me to create the Homebridge qBittorrent Plugin, which integrates qBittorrent’s “Alternative Rate Limit” into Apple HomeKit, making bandwidth control part of my home automations.
Why I Built the Plugin
The idea came about while searching for a way to automatically control qBittorrent’s bandwidth usage. I wanted to keep my internet connection smooth when I’m home and working but still allow qBittorrent to download freely during off-hours. Since I already use Homebridge to connect various devices to Apple HomeKit, I realized I could extend this functionality to qBittorrent by toggling its "Alternative Rate Limit."
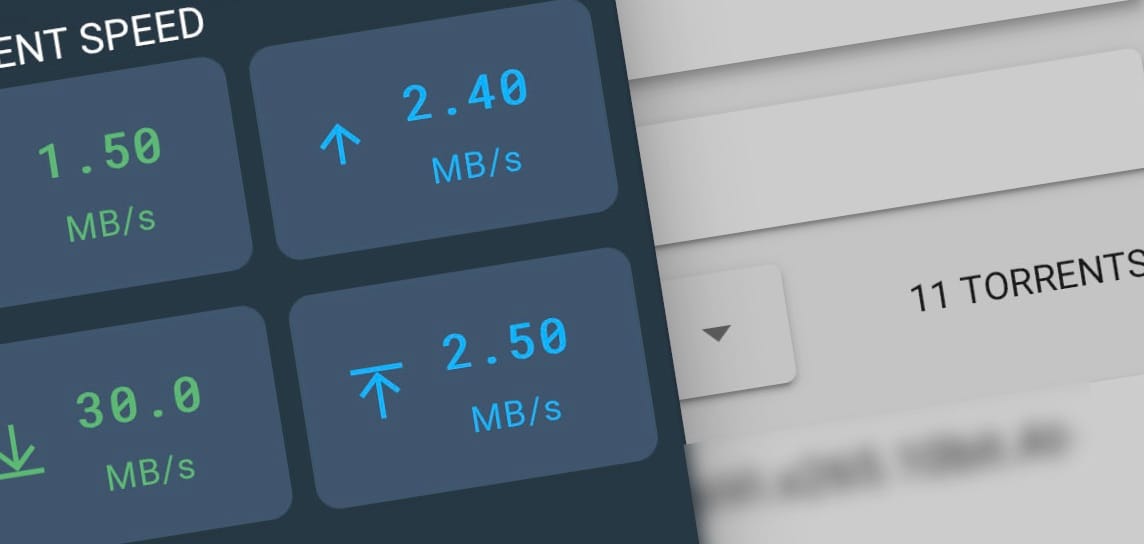
qBittorrent allows users to configure two different bandwidth profiles: the default limits and the Alternative Rate Limits, which can be set to individual speeds. My plugin simply toggles between these profiles in a way that fits into your HomeKit automations.
What the Plugin Does
The Homebridge qBittorrent Plugin adds a new switch to HomeKit, labeled Advanced Rate Limits by default, to toggle the "Alternative Rate Limit" setting in qBittorrent. This switch does NOT modify the speed settings but gives you the power to switch between the two profiles as needed.
How I Use It in My Home
I’ve set up automations in HomeKit to control qBittorrent’s bandwidth based on whether someone is home or not. For instance, when the first person arrives home, the Alternative Rate Limit is enabled to keep bandwidth usage low, ensuring smooth internet for everyone. When the last person leaves home, the alternative rate limit is turned off, allowing qBittorrent to download and upload without restrictions.
I also added the switch to my "Good Night" and "Rise & Shine" scenes. So, when I manually trigger those scenes, qBittorrent can use the full available bandwidth while I’m asleep and then limit its usage during the day when I’m up and about to prevent it from slowing down our connection.
How to Install and Set It Up
- Install the Plugin: Search for “
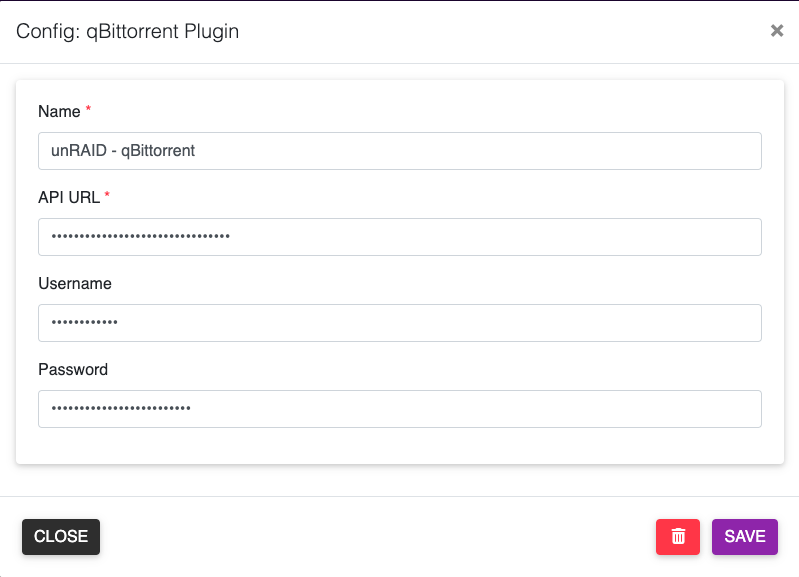
homebridge-qbittorrent-plugin” in the Homebridge Plugins section. - Configure Your qBittorrent Web API: Enter the URL of your qBittorrent web interface, along with your username and password, if authentication is enabled.
- Toggle the Switch in HomeKit: Once set up, you’ll see a switch in HomeKit labeled Advanced Rate Limits. Use this switch in automations or scenes to toggle qBittorrent’s bandwidth limits with ease.
Why You Might Find It Useful
If, like me, you’re looking for a way to manage your torrent client’s bandwidth without having to constantly adjust settings manually, this plugin could be a game-changer. Whether you want to limit qBittorrent’s bandwidth while you’re home and awake or let it use the entire available bandwidth while you’re away or asleep, the Homebridge qBittorrent Plugin seamlessly integrates into your HomeKit routines.
You can check out the Homebridge plugin on GitHub at https://github.com/RauchenwaldC/homebridge-qbittorrent-plugin and start automating your qBittorrent bandwidth with HomeKit.
If you’ve found this content helpful and would like to support the blog, consider donating by clicking here. Your support is greatly appreciated!


